
Spring Dreaming - DIY Moss Balls
I don’t know about you, but the Polar Vortex and all of the snow have got me not only stir crazy, but completely jonesing for spring! In my last post I talked about transitioning from Christmas to Winter/Valentine décor, but now I am craving some touches of green… just a sweet little reminder that winter will end and spring will soon arrive!
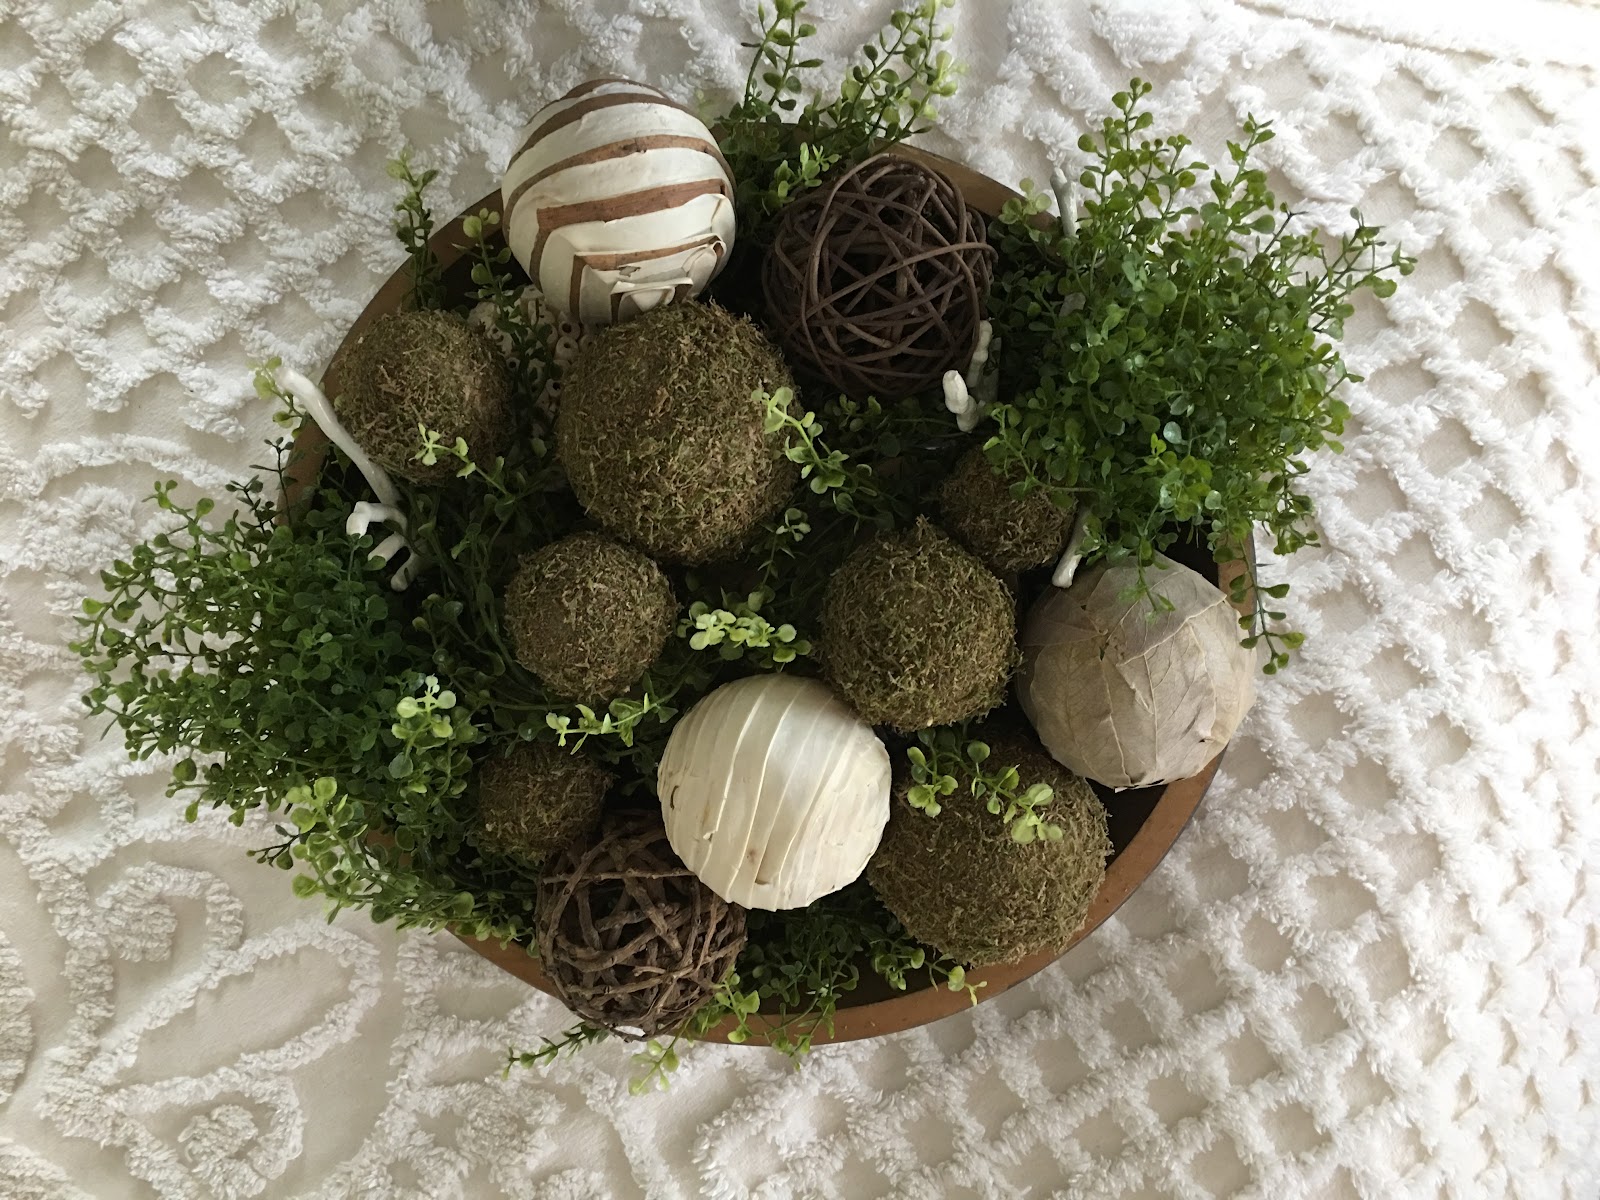
Speaking of green… I have a confession: I love moss. All types of moss. So, incorporating it into my decor seems only natural. I really love the moss balls that are sold in stores, but it would cost me about $1000 for all the moss balls it would take to fill this beautiful antique bread dough bowl that was my great grandma’s. So, I decided to do my own and share how easy it is with all of you.

I gathered the following supplies and got all mossy! Note: I linked everything I used (mostly from Walmart or what I had on hand), and we don't receive a commission. I just put it here to make it convenient for those online shoppers.

Supplies
- Sheet Moss
- Mod Podge
- Styrofoam balls in various sizes
- Foam Paint Brush – I always have these on on hand, but you can find them everywhere
- A couple of grocery bags - the ones you have shoved under your sink, in your pantry or another dark corner of your home
- A couple wooden skewers – like you use on the grill to make yummy shish kabobs
- An old corrugated box - (I used one from my 5,000 Amazon orders.)
How-To
So I started by tearing the moss into small pieces. It really didn't take much moss puree to cover the seven different sized balls. I just used a couple sheets.

Then, I put them right into my food processor using the blade attachment. What!? That’s right…I put that nasty moss in my food processor and killed it. I can tell you it does take a little while to pulverize the moss in the blender. So, don’t be shy with that pulse button!

Side note: I use my food processor all the time. If you don’t- you should! Seriously, pull it from the back of whatever closet or cabinet you store it in, and put it up front and center so you are more likely to use it! It will be more readily accessible for recipes and craft projects! That’s right! You can use your food processor for more than just food and moss! I have also used it to chop up crayons for projects with the baby birds!
Now! Let's get back to these balls, shall we?
After I pureed the moss, I set it aside and inserted the wooden skewers into my Styrofoam balls. Once I had them all skewered up I painted my foam balls with a super thick coat of Mod Podge.

Next, I dumped the pureed moss into a plastic grocery bag (you want something you can toss in the trash after you are done) and rolled the Mod Podge-covered ball in the moss. If you have some bald spots, dab on a little more Mod Podge and stick some more moss to them. The other Bluebird Girl would not let me post a picture of the moss in the plastic bag because she said it looked like a big bag of poo…hahahahaha! I got away with this one...

Once the balls were coated in moss with no bald spots, I stuck the skewers into the corrugated box and let them dry overnight.

The next day I sprayed them with a little spray adhesive that I had on hand to ensure they didn’t shed everywhere….WARNING…JUST A QUICK SPRAY!! Too much and the moss balls get gummy.


Voila!! Moss balls! They cost me very little to make, and I'm loving the pops of green! Can’t wait to see how you all use them in your home!
-MB

Comments
Post a Comment